
Installing a freestanding stone bathtub is more than just placing a heavy object in a bathroom; it requires precise structural planning and plumbing integration. For importers, interior designers, or dropshippers guiding clients through this process, understanding the technical constraints is essential to prevent costly callbacks. A typical Gladystone freestanding stone tub weighs between 80 kg and 120 kg (176–265 lbs) depending on the finish and internal reinforcement. While these dimensions look manageable on a spec sheet, the actual installation demands a solid foundation and specialized drainage solutions that standard residential builds often lack. This guide breaks down the critical pre-installation checks: floor load capacity and drain preparation.
Verifying Stone Tub Floor Load Capabilities
Before ordering stock or scheduling an install, you must verify the subfloor can support the dynamic weight of the unit. Unlike acrylic or fiberglass models which float on a thin membrane, natural stone sinks the load directly into the joists. A standard 2×10 inch oak joist spaced at 16 inches on center usually supports roughly 50–60 kg per linear foot in residential settings. However, a stone tub floor load requirement spikes significantly once you factor in the water fill and user weight.

Calculate the total dead load first. A large rectangular basin might measure 180 cm x 75 cm with a depth of 45 cm. If filled with water, that volume adds approximately 200 liters (roughly 440 lbs) to the static weight. Add two average users (approx. 136 kg total) and you are looking at a peak load of over 700 kg concentrated on a small footprint. Most residential subfloors cannot handle this point load without reinforcement.
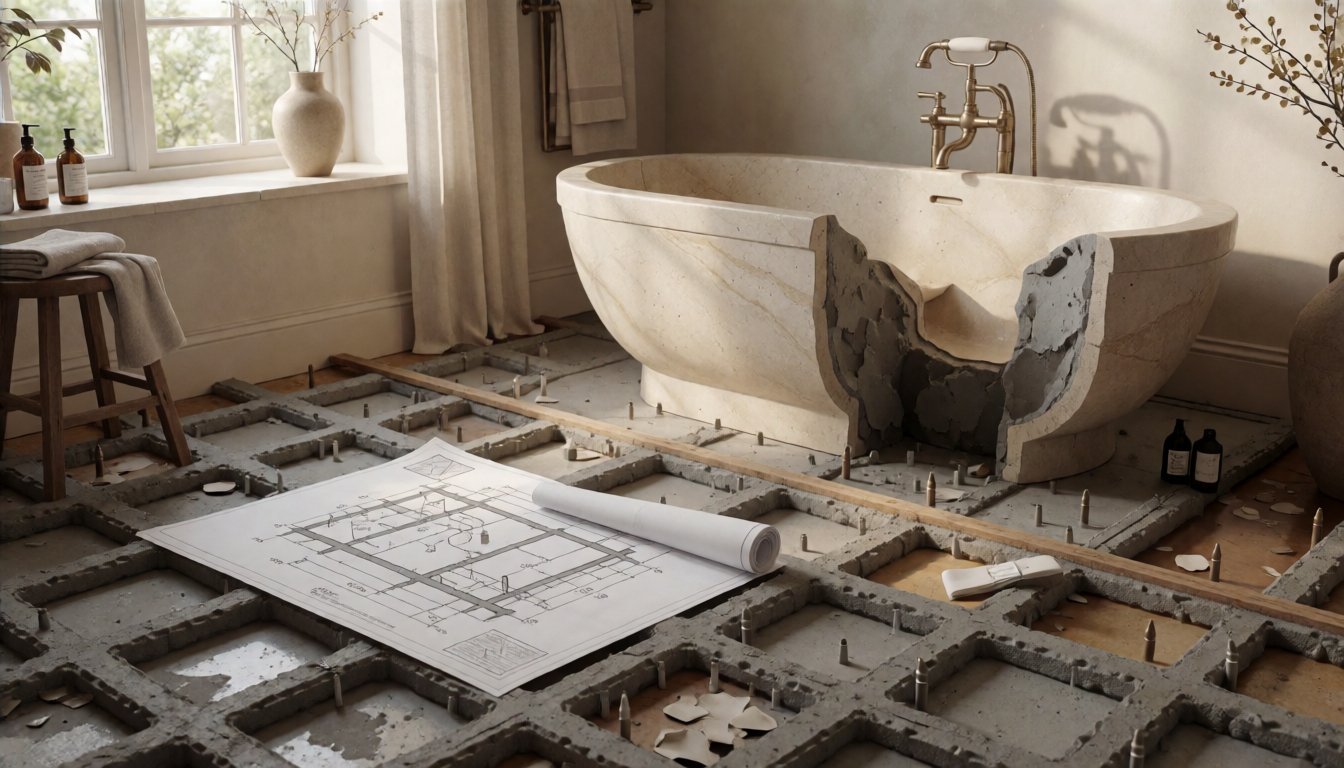
If your client’s bathroom has existing flooring, ask for a structural engineer’s sign-off before they attempt installation. If the floor is concrete-on-grade or a reinforced slab (common in new construction), it usually handles freestanding stone bathtub installation without issue. For wood-framed floors, you often need to sister new joists or add a plywood substrate layer of at least 1/2 inch thickness underlaid over existing flooring. Do not assume the current floor is safe just because it held a shower stall; tubs concentrate weight differently than distributed showers.
Essential Bathtub Drain Prep Standards
The plumbing rough-in for stone basins differs from standard factory-made acrylic tubs. Stone sinks often feature internal drain holes that are slightly smaller or positioned differently to accommodate thick marble edges or specific overflow designs. A common mistake is assuming the drain hole aligns perfectly with a standard 1-1/2 inch P-trap without verification.
When prepping for installation, ensure the waste line has a minimum slope of 1/4 inch per foot leading away from the tub. For stone units with integrated overflows, the overflow pipe must connect to the main stack before the water reaches the trap. If you are sourcing custom white-label basins, confirm the drain hole diameter and location during the mold phase. Most Gladystone production lines offer standard 1-1/2 inch or 1-1/4 inch holes, but deviations require specific tooling adjustments that increase lead time by roughly 7–10 days.
Also, consider the material’s interaction with water. Stone is porous unless sealed. If the drain area isn’t flashed correctly during prep, moisture can seep behind the stone, leading to mold or structural rot in the subfloor. Always install a high-quality waterproofing membrane (like RedGard or similar) around the drain flange before setting the tub. The flange itself should be embedded in thin-set mortar, not just caulked, to create a rigid mechanical seal that won’t fail under thermal expansion.
Structural Reinforcement for Wood Framing
If the existing structure is wood-framed, reinforcement is non-negotiable. Simply laying a stone basin on drywall or vinyl plank flooring guarantees failure within months. The correct approach involves removing the finished floor down to the subfloor and assessing the joist orientation.
For a typical 180 cm long tub, you need joists running perpendicular to the tub’s length or installing blocking every 40 cm along the tub’s footprint. If the existing joists are oriented parallel to the tub, you must install beam supports (sister beams) spanning across the joists underneath the intended tub location. These beams should be engineered lumber like LVL or GLULAM capable of handling at least 60% more load than a standard 2×10.
Another option is installing a dedicated concrete pad. This requires cutting an opening in the subfloor, pouring a reinforced 4-inch thick concrete pad specifically under the tub footprint, and sealing it before reinstalling the finish floor. While labor-intensive, this method eliminates long-term sinking concerns. For white-label brands selling to DIYers, include diagrams showing these reinforcement steps clearly on your assembly instructions to reduce liability.
Managing Lead Times and Custom Drain Modifications
When sourcing freestanding stone bathtub installation components, keep lead times in mind if you need custom drain fittings or reinforced bases. Standard inventory usually ships within 14–21 days from China for pre-production stock. However, if a client requests a specific drain offset or a thicker steel reinforcement plate for their subfloor, the factory needs to adjust the mold cavity or the internal rebar layout.
These modifications typically add 10–15 days to production. Communicate this early with your supplier. If you are acting as an intermediary for US or EU buyers, build this buffer into your promised delivery dates. It is better to offer a standard unit with a generic drain hole and let the installer adapt than to promise a custom fit that delays the whole project.
Quality control checks should include verifying the internal steel mesh reinforcement before shipping. Stone slabs are often thin (15–20 mm) and rely on this wire mesh for structural integrity during handling and installation. A missing or weak mesh can cause cracking once the tub is filled with water. Always request photos of the internal structure from your supplier’s QC team before approving the container load.
By focusing on these mechanical realities, you ensure that the final product stands the test of time. The goal is a seamless install where the beauty of the stone is never compromised by structural failure or plumbing leaks.