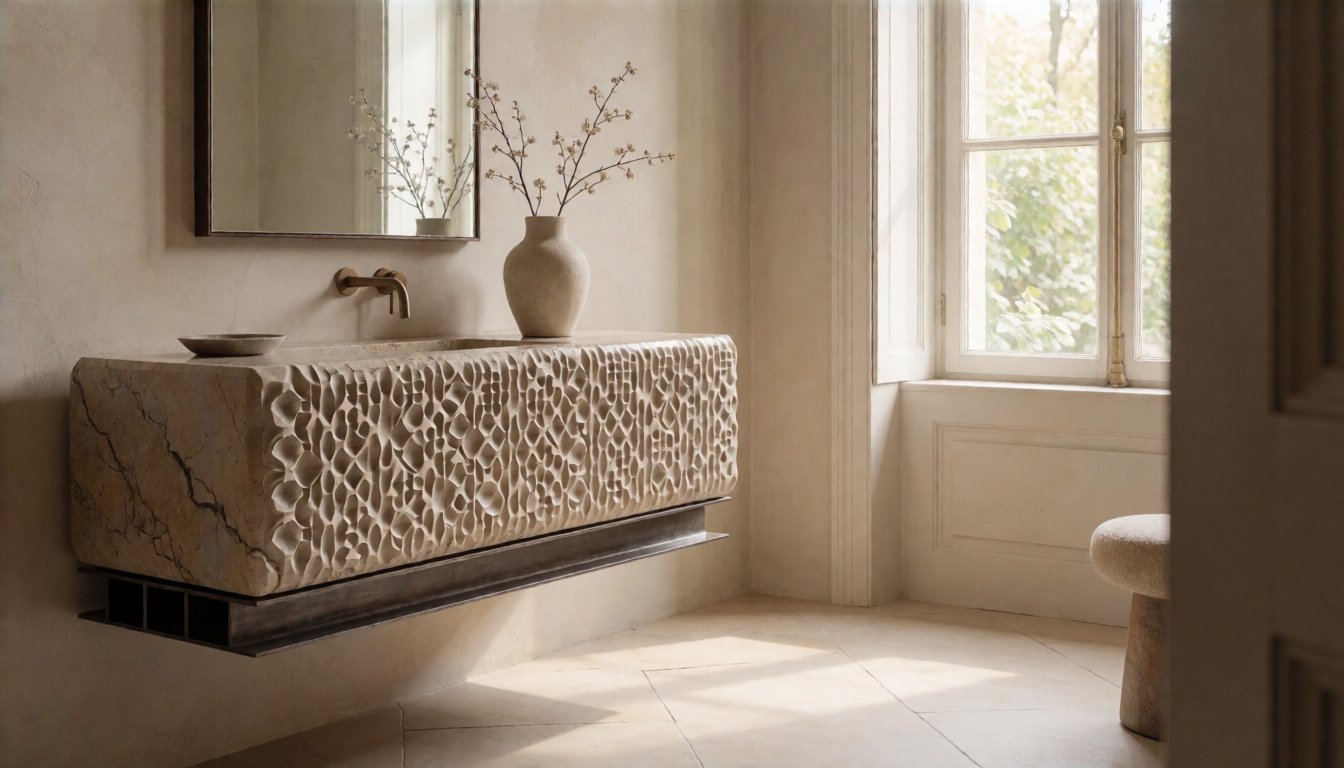
For importers and interior designers sourcing stone vanities from China, shipping isn’t the only hurdle. The real value add happens once the units arrive at a job site in the US or EU. A poorly installed stone vanity leads to cracked basins, sagging countertops, and unhappy clients who blame the brand. As a buyer looking for reliable partners like Gladystone, you need to understand the specific installation challenges inherent to natural stone sinks and tables. This guide covers the critical structural requirements for securing heavy stone units and the best practices for joining multiple pieces into a seamless surface.
Securing Heavy Units with Wall Anchors
Natural stone vanities are significantly heavier than typical bathroom furniture. A standard single-basin vanity made from granite or quartzite often weighs between 80 and 120 kg (175–260 lbs). Double-basin units can easily exceed 150 kg. When these heavy loads hang on drywall or plaster, the risk of failure is high. Standard plastic anchors strip out within days under this weight.
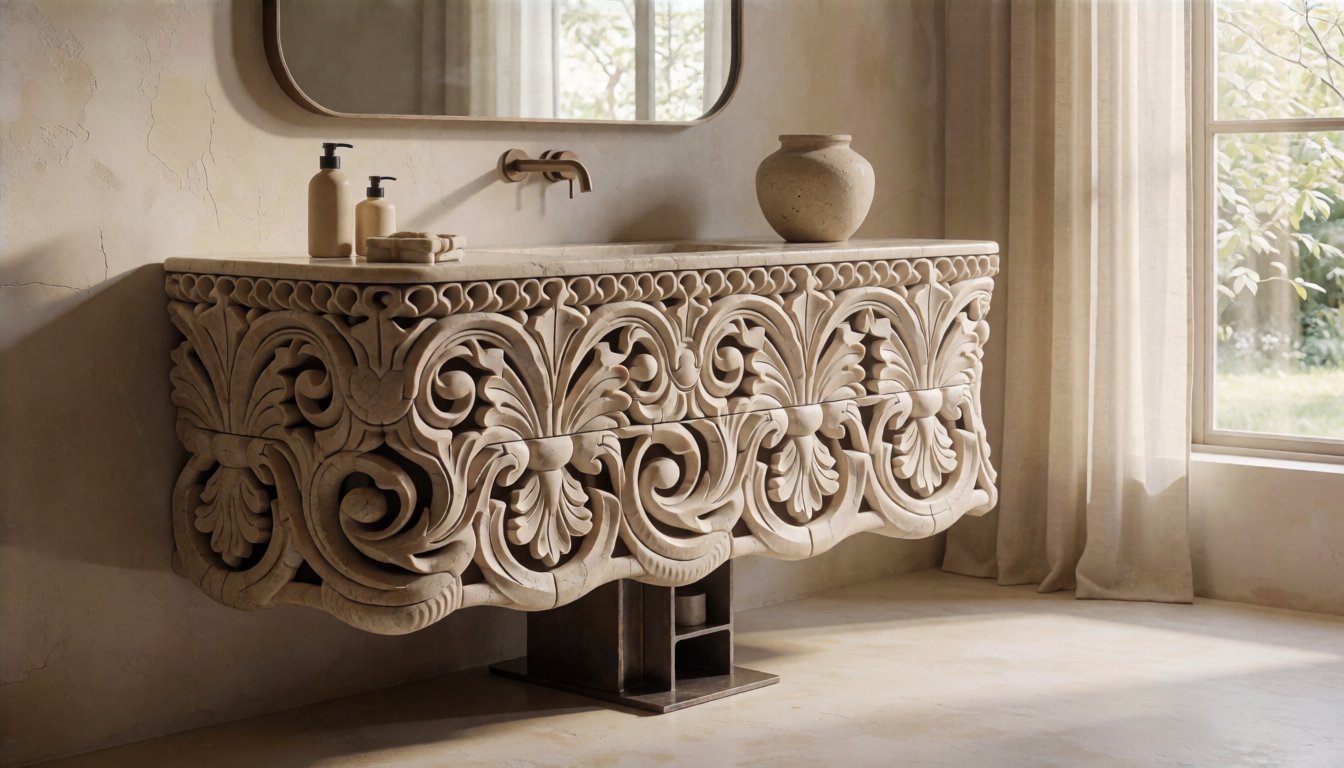
Your installation manuals must specify a vanity wall anchor system designed for masonry or metal studs. For concrete or brick walls, you typically need 10mm or 12mm expansion bolts spaced every 40 to 60 cm along the mounting rail. If the wall is wood stud framing, the rail needs to be anchored directly into two studs per side, with lag screws at least 3 inches long penetrating deep into the timber.
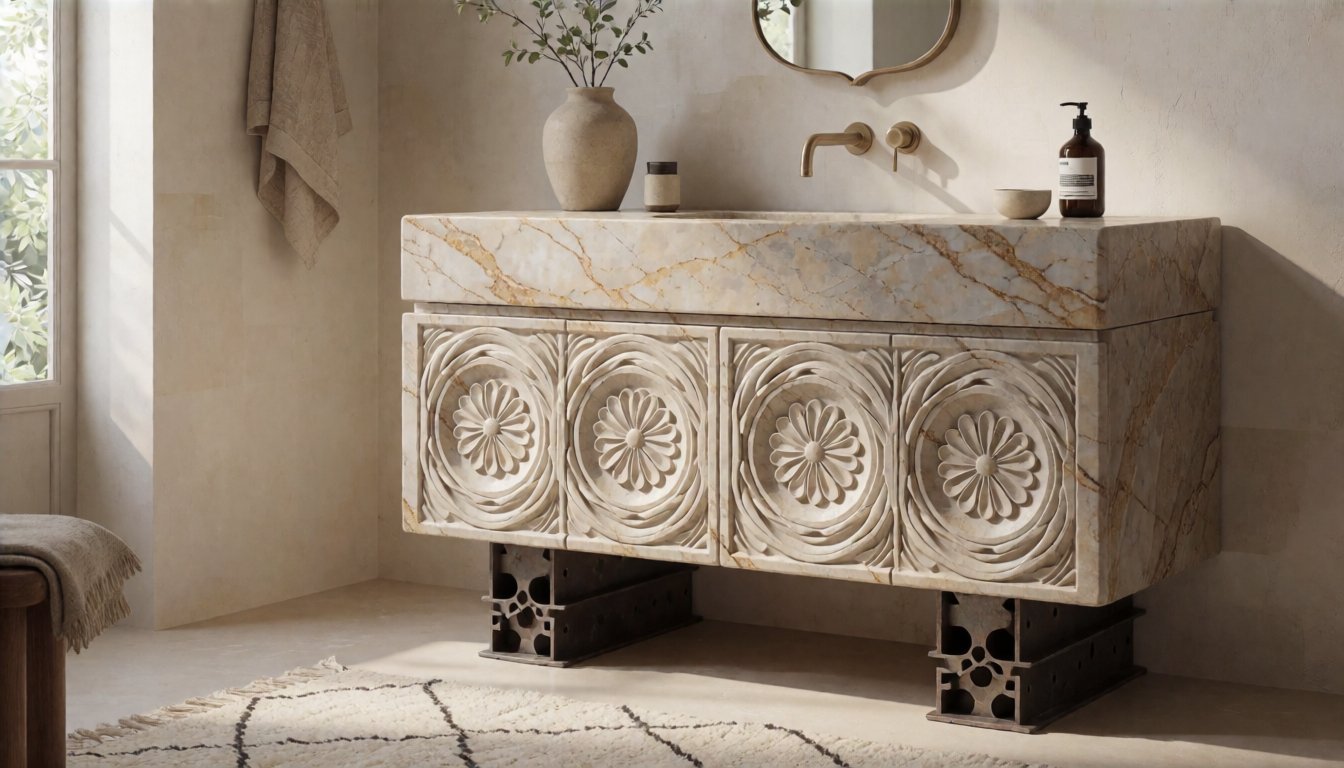
When sourcing from a manufacturer, ask for detailed torque specifications for these anchors. Over-tightening can crack the stone near the mounting holes, while under-tightening allows the unit to pull away. A common mistake in European installations is using just two points of attachment at the top corners. This creates an arch effect that stresses the sink basin until it cracks. Always require a continuous steel channel or heavy-duty rail spanning the full width of the vanity.
For stone vanities with integrated fireplaces, the weight dynamics change entirely. These units often weigh over 200 kg and generate significant heat. The mounting hardware must include thermal breaks to prevent moisture transfer from the fireplace into the surrounding cabinetry. Ensure your supplier provides a specific installation kit for these high-profile items, including reinforced steel brackets capable of handling the combined load of stone, water, and structural heat expansion.
Countertop Seaming and Joint Integrity
When designing custom vanities or large dining tables, you may need to join two stone slabs to achieve the desired length. This process is known as countertop seaming. In a B2B context, this isn’t just about aesthetics; it is about structural integrity. A weak seam will fail under the weight of cutlery, wine bottles, or bathroom accessories.
The most common method for seaming involves using a specialized epoxy resin that matches the stone color. For natural stone like marble or limestone, mechanical reinforcement is non-negotiable. You must embed stainless steel L-brackets or fiber-reinforced mesh strips into the groove before injecting the adhesive. These hidden supports distribute stress across the joint rather than concentrating it at a single point.
Groove depth plays a critical role in seaming success. The V-groove cut between slabs should be roughly 6 to 8 mm deep and 3 to 4 mm wide. Too shallow, and the adhesive won’t bond properly; too deep, and you compromise the structural thickness of the slab. After grinding the seam flush with a diamond blade, apply the color-matched epoxy in two layers. Allow the first layer to cure partially before adding the second to create a strong chemical bond.
Polishing these seams requires patience. Use progressively finer grits (400 to 3000) followed by a fine polishing compound to blend the seam into the surrounding stone. A successful stone vanity installation will show no visible line of separation even when viewed from an angle. If the client inspects the work closely and sees a gap, the brand reputation suffers immediately. Provide your partners with pre-approved grinding templates and epoxy samples that match your factory’s most popular stone colors.
Addressing Thermal Expansion in Large Formats
Large-format stone slabs, particularly marble or travertine, expand and contract with temperature changes. In a dining room setting, this movement can cause cracks near the seaming joints or at wall supports. The coefficient of thermal expansion for natural stone varies but is generally low enough that proper anchoring mitigates most issues. However, in environments with extreme fluctuations, such as outdoor fireplaces or sunroom vanities, the risk increases.
Manufacturers must advise on leaving a clearance gap near wall corners if the vanity extends beyond 2 meters in length without intermediate support. This gap prevents the stone from pushing against rigid walls and cracking. For Gladystone’s dining tables, we typically recommend internal steel reinforcement rods running through the center of large slabs over 150 cm wide. These rods act as tension ties, holding the stone together even if the outer edges shift slightly.
Waterproofing is another consideration for seamed countertops in wet areas like bathrooms. Capillary action can pull water into the seam joint if it isn’t perfectly sealed. In addition to the epoxy bond, apply a flexible silicone sealant over the cured epoxy joint in high-moisture zones. This creates a secondary barrier against moisture intrusion that could weaken the adhesive over time. Ensure your installation guides specify a minimum cure time of 48 hours before exposing the seam to water or heavy use.
Quality Control and Supplier Communication
As an importer, you are responsible for ensuring that every unit leaving the factory meets these structural standards. Request video evidence of the installation process for complex units like fireplaces or seamed vanities. Ask your supplier to demonstrate their vanity wall anchor setup on a mock-up wall before shipping bulk orders. Do not accept generic photos; look for specific details like bolt types, groove depths, and sealing methods.
Pricing for stone furniture often hides the cost of specialized hardware. A lower-priced vanity might come with cheap plastic anchors that fail in weeks, leading to costly returns. When negotiating terms with manufacturers, clarify exactly what is included in the installation kit. Does it include the steel reinforcement mesh? Is the epoxy color-matching service included? What are the lead times for custom anchor designs if standard ones don’t fit your specific wall types?
Typical lead times for fully assembled stone vanities range from 25 to 35 days depending on stone availability and order volume. Custom seaming work adds roughly 5 to 7 days to this timeline due to the precision grinding and curing time required. Factor these delays into your inventory planning. If a client needs a specific size or finish urgently, confirm that the factory has the raw material in stock before placing an order.
By focusing on these structural details, you ensure that your customers receive vanities that last. Whether it is a heavy stone sink or a large dining table, proper anchoring and seaming are the foundation of product longevity. Share this technical knowledge with your installation partners to build trust and reduce warranty claims.